How to take a screenshot via laptop or desktop

Screenshots are a great way to show someone what’s on your screen, whether it’s a picture of your computer desktop or something that’s on the Internet. They can also be helpful when you need to document something for work or school.
Luckily, taking screenshots is a pretty easy process on both laptops and desktop computers. In this post, we’ll show you how to take screenshots on both types of devices.
How to take a screenshot of your whole screen:
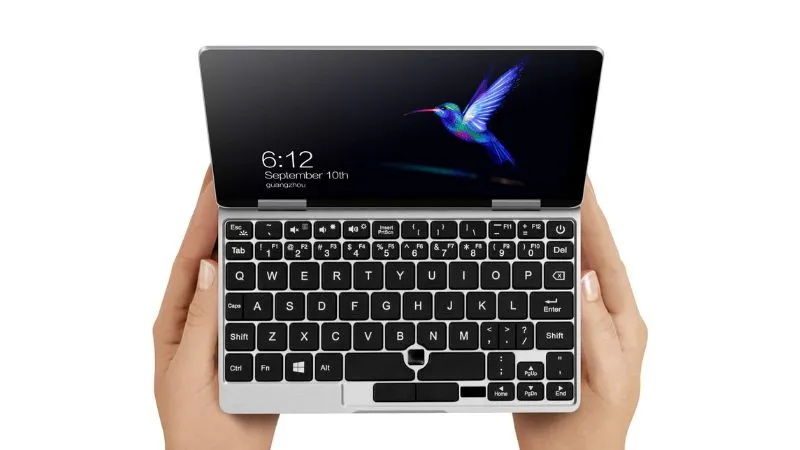
To take a screenshot of your entire screen on a PC, hold down the "Print Screen" key on your keyboard. This key is usually located in the upper-right corner of your keyboard and has the symbol of a camera on it.
Once you've pressed the key, the screenshot will be saved to your clipboard. You can then paste it into a document or image editor to save or share it.
If you want to take a screenshot of just a portion of your screen, you can use one of the methods outlined below.
How to take a screenshot of just one window:
To take a screenshot of just one window on your screen, press and hold the Alt key and then press the PrtSc key.
If you want to take a screenshot of a specific area on your screen, press and hold the Alt key and then use the left mouse button to select the area you want to capture.
How to take a screenshot of a specific area:
To take a screenshot of a specific area on your screen, use the Snipping Tool.
The Snipping Tool is a pre-installed program on Windows computers that allows you to take screenshots of any selected area on your screen. It's really easy to use - just open it up and select the area you want to screenshot. You can then save it as an image or copy it to your clipboard.
This is a great tool for capturing website screenshots, for example, or for grabbing just a specific part of an image.
How to save your screenshot:
Once you've taken a screenshot, the next step is saving it. This process will vary depending on what device you're using, but here are the basic steps:
For Windows: Once you have your screenshot, press the "PrtSc" key on your keyboard to save it to your clipboard. Then, open Microsoft Word or a photo editor and paste the screenshot into the document. From here, you can save the document as a JPEG or other file type.
For Mac: To take a screenshot on a Mac, press "Cmd", "Shift", and "3" at the same time. This will save your screenshot as a PNG file on your desktop.
How to take a screenshot on a Mac:
On a Mac, screenshots are taken using a keyboard shortcut. To take a screenshot of the entire screen, press Command + Shift + 3. To take a screenshot of a specific area, press Command + Shift + 4 and then drag the crosshair cursor to select the desired area. Once you have selected the desired area, release the mouse button to take the screenshot.
How to take a screenshot on a PC:
There are a few different ways to take a screenshot on a PC, and we're going to walk you through the easiest ones.
The first way is to use the built-in keyboard shortcuts. To do this, hold down the "PrtScn" key on your keyboard and then hit the "S" key. This will save the screenshot as a file on your computer.
The second way is to use a screenshot capture tool like Snagit or Jing. These tools allow you to take screenshots of specific parts of your screen or even record videos of your screen. They're both great for capturing more advanced screenshots that include menus or toolbars. And that's it! Those are the six easy ways to take a screenshot on a PC.
Conclusion:
There are a few different ways to take screenshots on laptops and computers. In this blog post, we'll show you how to take a screenshot using different methods depending on your operating system.


